Effective acoustics contribute significantly to any sound-based environment’s listening experience and overall ambience. However, balancing the acoustics of a room can be quite challenging, especially for those working with a limited budget.
Acoustic panels are a cost-effective solution that can help in reducing echoes, reverberations, and room reflections, creating a more balanced and enjoyable listening environment. Whether you’re a musician looking to improve your recording quality, a homeowner seeking to enhance your home theatre’s audio or just a fan of crisp sound in your living space, this guide is designed for you.
Here’s how you can revamp your room’s sound profile without breaking the bank.
Step 1: Assess Your Room
The first step to improving your room’s acoustics is to understand the current sound issues. Stand in the centre of the room and clap your hands. If you hear a significant echo, the acoustics could be improved.
For larger spaces, you may want to walk around the room to identify ‘dead spots’ that could benefit from sound absorption. Next, measure the dimensions of your room so you can calculate how much absorption you’ll need. As a rule of thumb, aim to cover about 15-30% of each wall with panels.
Step 2: Choose the Right Materials
Acoustic panels are typically made from sound absorption materials, such as dense foam, mineral wool, fibreglass, or cotton. The key is to choose materials with a high Noise Reduction Coefficient (NRC) rating, which indicates how much sound the material can absorb. Some common materials include:
- Mineral Wool: Offers high-density insulation, excellent for bass frequencies.
- Fiberglass: A traditional and reliable option known for its high NRC ratings.
- Acoustic Foams: Open-celled foam that works well for mid and high-range frequencies.
- Recycled Cotton: Beneficial for eco-friendly soundproofing.
Consider your budget, safety, and aesthetic preferences when selecting acoustic panel materials.
Step 3: Measure and Mark Placement
Once you’ve selected your materials, it’s time to position your panels strategically. Measure the height and width of the wall to determine where the centre point is, and then mark this spot with a pencil. The exact placement of your panels will depend on the specific issues you are trying to resolve, but in general, they should be at the point of first reflection—where sound directly reflects off the speaker and reaches your ears.
Step 4: Build or Purchase Panels
You have the option to either purchase pre-made acoustic panels or build them yourself. Constructing your panels can be more budget-friendly, and it also allows for customisation of size and fabric choice.
To build your own panels, gather your chosen acoustic material, a wooden frame, and fabric to cover the panel. Secure the fabric to the frame and ensure that the material remains tight to maintain the panel’s effectiveness.
If you decide to purchase an acoustic panel, look for reputable sellers that offer NRC ratings and provide information on the frequency ranges the panels absorb.
Step 5: Install the Panels
Installing your acoustic panels is the most critical step to enhance the room’s acoustics. Start by positioning your panel against the wall using the central mark you made in Step 3. Then, use a level to ensure that the panel is straight. Depending on the panel type, you can use various methods to affix them to the walls, such as picture-hanging hooks, adhesive strips, or nails.
When placing multiple panels, maintain an even distribution to achieve balanced sound absorption throughout the room. You can experiment with panel placements by temporarily positioning them on the wall with double-sided tape before making the installation permanent.
Step 6: Finishing Touches
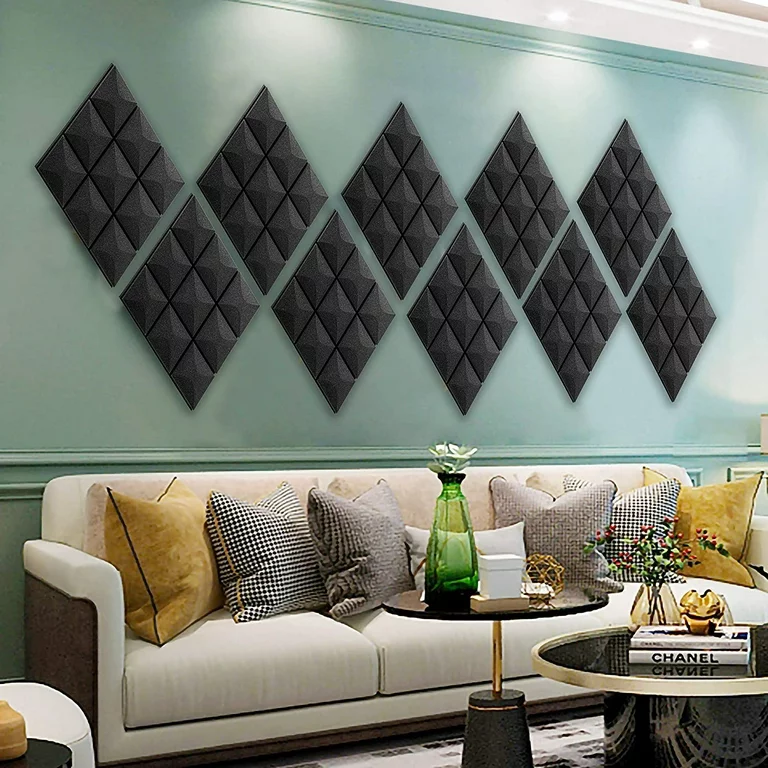
To ensure that your acoustic panels improve sound quality and your room’s aesthetics, consider the fabric covering. Choose a cloth that is acoustically transparent to let sound pass through and reach the absorption material behind. The fabric can also add a splash of colour or pattern to complement your room’s decor.
Additionally, you may want to consider corner bass traps to improve low-frequency response. These can be particularly effective in rooms where heavy bass is an issue, such as recording studios and home theatres.
Conclusion
Enhancing your room’s acoustics with acoustic panels is a manageable project that can be done on a budget. By following these steps, you can transform your listening space into a more enjoyable and professional-sounding environment. Remember, well-balanced acoustics are not only for audiophiles and professionals. They enhance the richness and clarity of any room’s soundscape, making music, movies, conversations, and even work more immersive and pleasurable.